You’re on Instagram, and you’ve seen those awesome promo videos in the Reel tab from businesses and influencers alike, and you’re probably thinking to yourself “How on earth do I make something like that?” Now that you’ve learned all that you need to know from our previous blog post that you have totally read (and if you haven’t, you totally should). It’s time to roll up your sleeves and dive straight into creating your own Reel.
How do you make an Instagram Reel?
Let’s start with the basics:
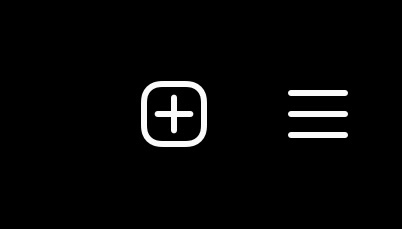
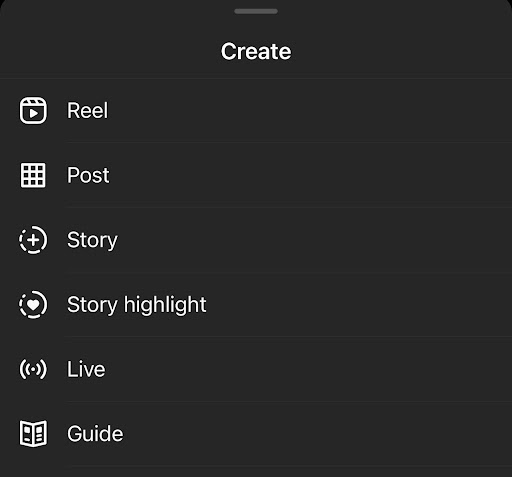
You can shoot your Reel easily in the Instagram app. To start, press the ‘+’ button on the top of the Instagram page and tap on ‘Reel’.
You can record your clips and play them back before adding them to your final Reel. Then you can edit, trim, and piece together the final product.
What about all those icons on the side?
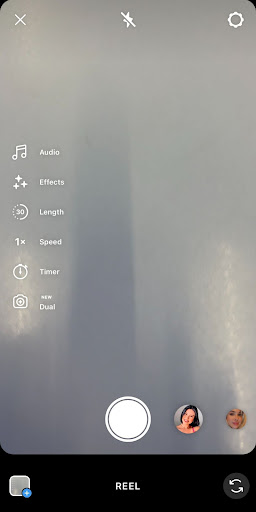
The music note – This is where you can choose music to add to your Reel.
1x – This is the speed of your video, you have a choice
between .3x, .5x, 1x, 2x, 3x, or 4x.
Clock – This is the timer, where you can take advantage of hands-free filming if you’re filming something like a recipe or cooking video and you need to use both of your hands.
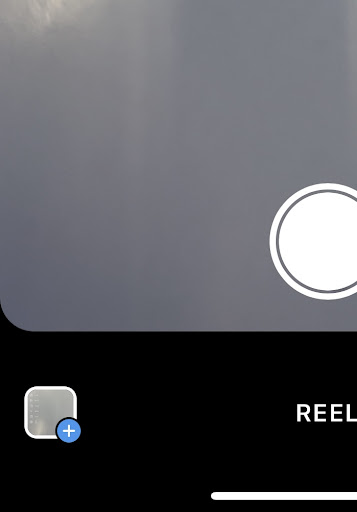
Have fun experimenting with filming in-app, or you can add your own pre-filmed clips using this little ‘+’ button here.
What dimensions do my Instagram Reels need to be?
Instagram recommends that you shoot all your videos in 1080 x 1920. This means it’s a vertical HD video. If you’re filming outside of the app, make sure you’re holding your camera or phone in portrait orientation to make sure your footage doesn’t need to be flipped manually during the editing process.
Can I edit my Instagram Reels anywhere?
Yes! If you film your footage on your phone, you can transfer your footage to your laptop, computer, or editing app to frame your Reels-terpiece however you want!
You’ll have to send your final Reel to your mobile device to upload it, as Instagram doesn’t support Reel uploads on desktop (yet!)
How can I have the best quality in my Reel?
You’ll have the best quality hands down if you film directly in-app. It means that there are no file transfers that compress your clips and make them look (shivers) nasty. And we also recommend that you enable high-quality uploads on your Instagram page by heading to:
Settings > Account > Data Usage and switching on the ‘High-Quality Uploads’
You’ll notice that when posting your Reel, it might take a little bit longer than usual, but that’s Instagram letting all those shiny pixels in your video reach their full potential!
What are the advantages of Instagram Reels?
Instagram is OBSESSED with Reels and video content, and if you’re not posting video content you’re missing out on an exponentially large opportunity to reach more people in your chosen audience with organic content. Let Instagram work its magic with the hashtag targeting algorithm that you’ve totally learned all about here.
Now it’s time to set off on your Instagram Reel journey, have fun experimenting with your filming and clips, and don’t forget to stay creative and enjoy the process!
By leaving a comment you agree with the storage and handling of your data by this website. You can learn more about how we handle you comment information in our Privacy Policy. We are using Akismet to reduce comment spam. Learn how they process your comment data.